
Last updated October 16, 2026
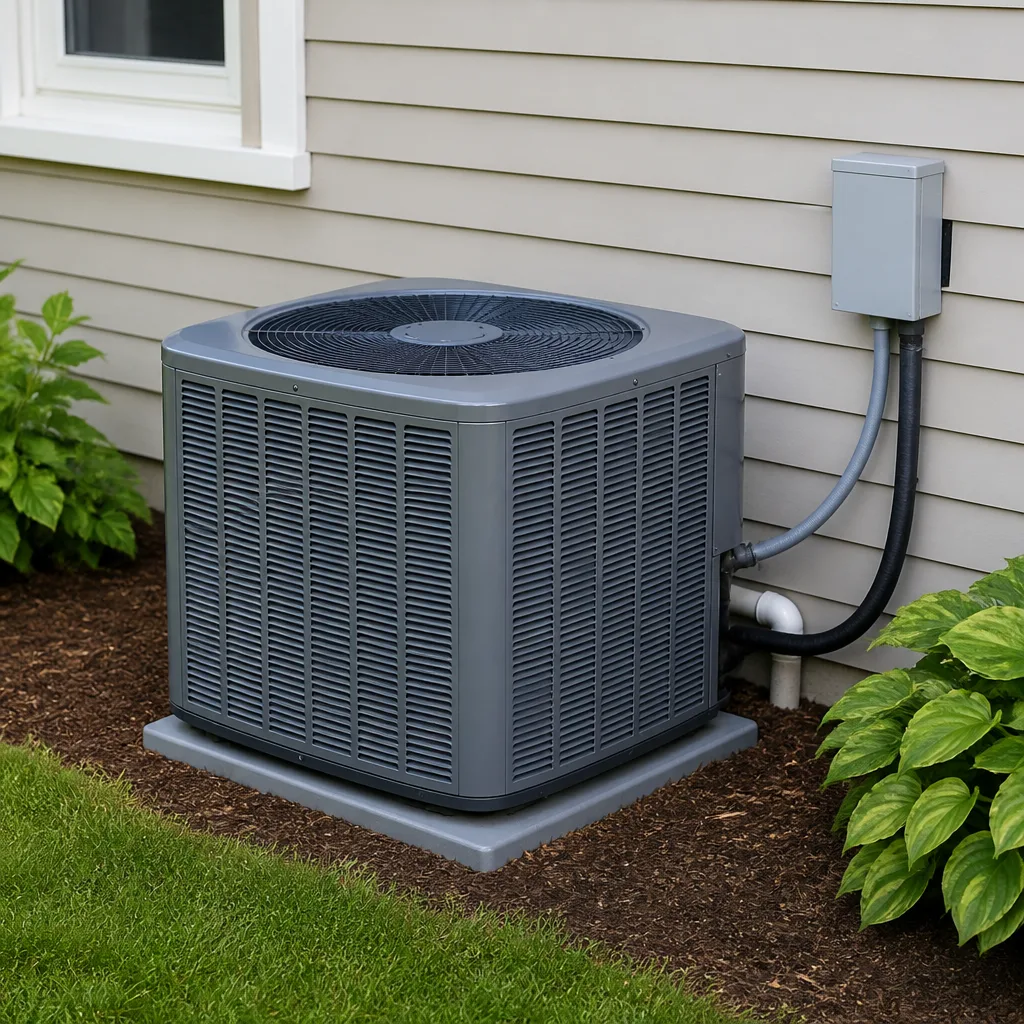 AC repair
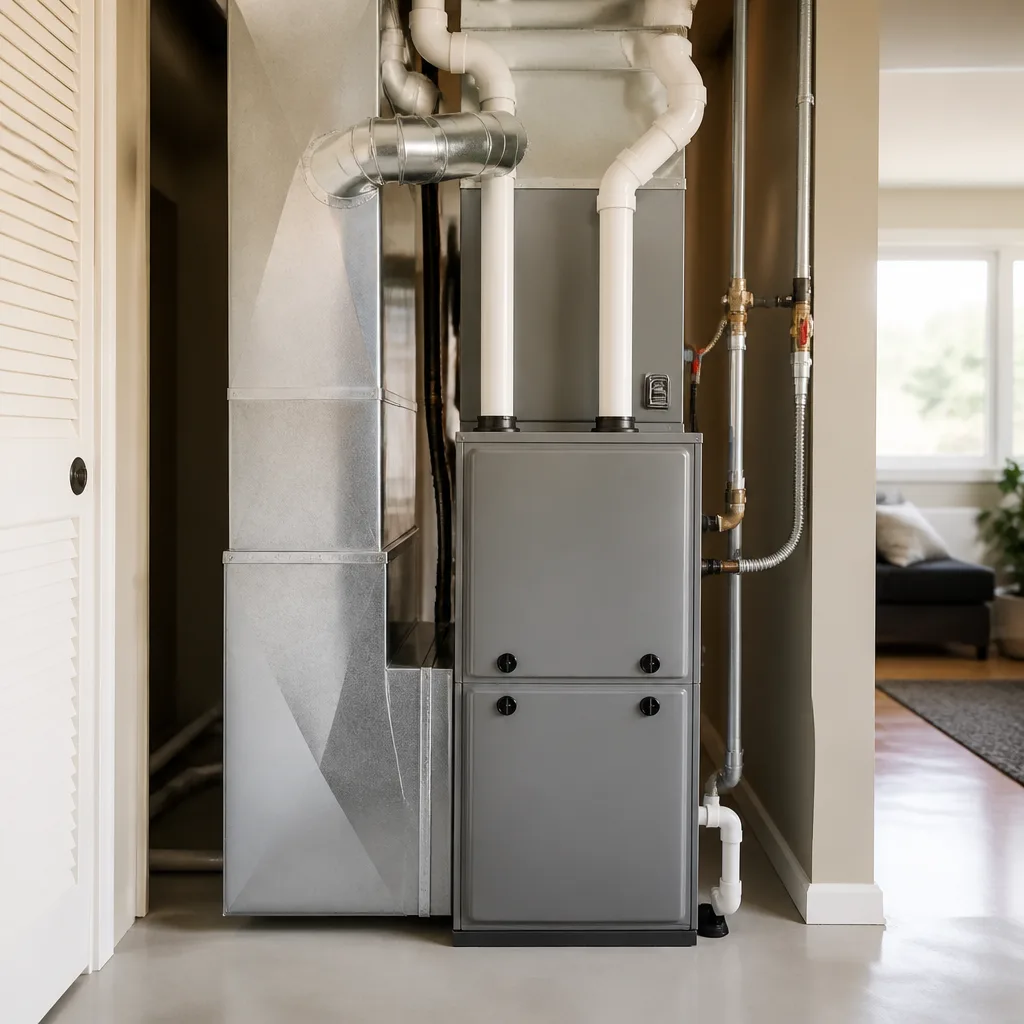 Furnace & heating
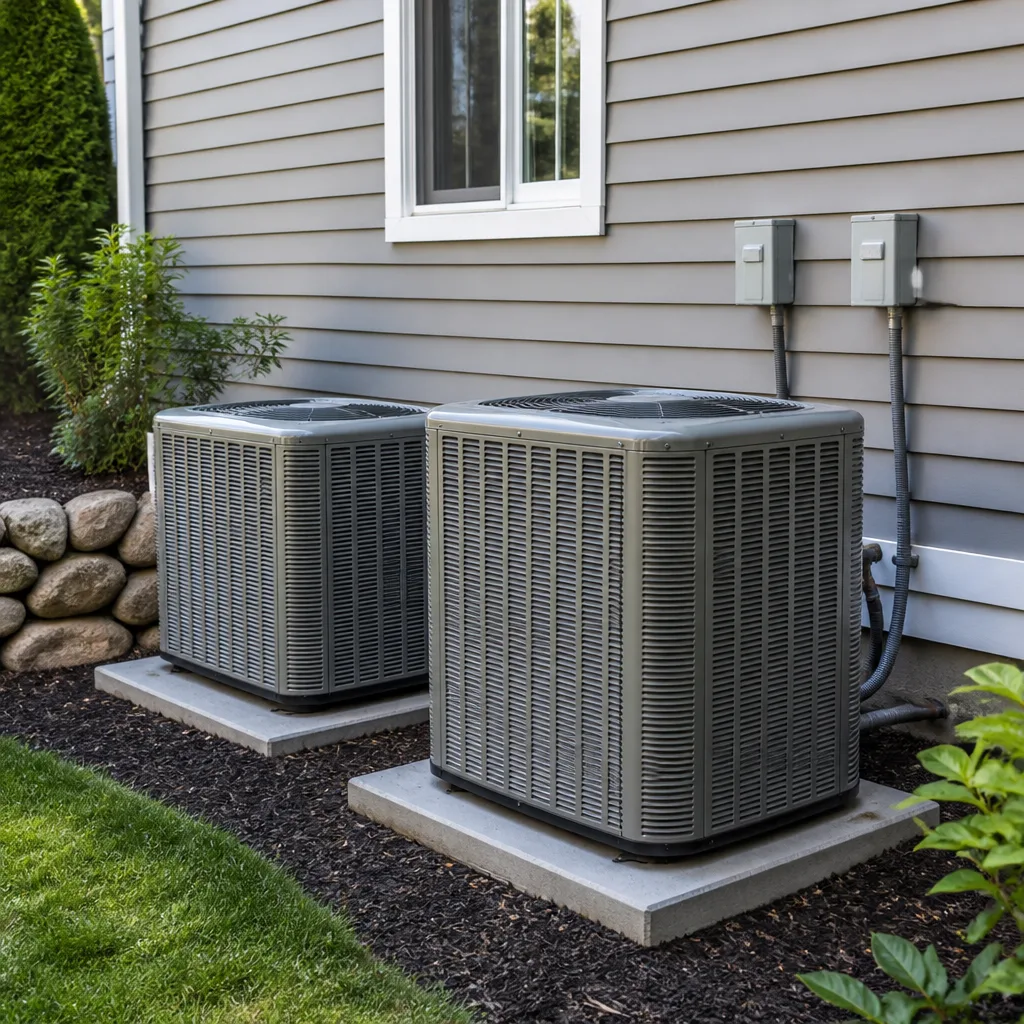 Heat pumps
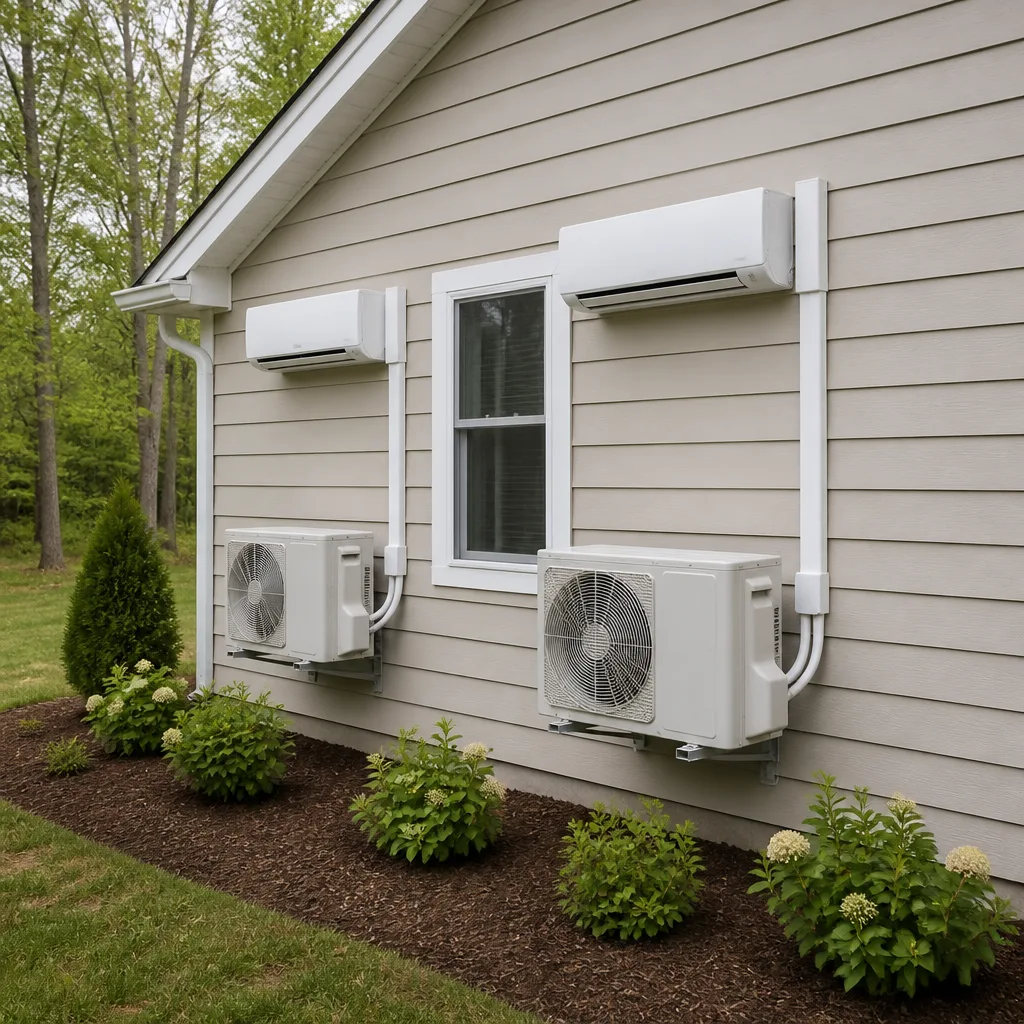 Ductless mini splits
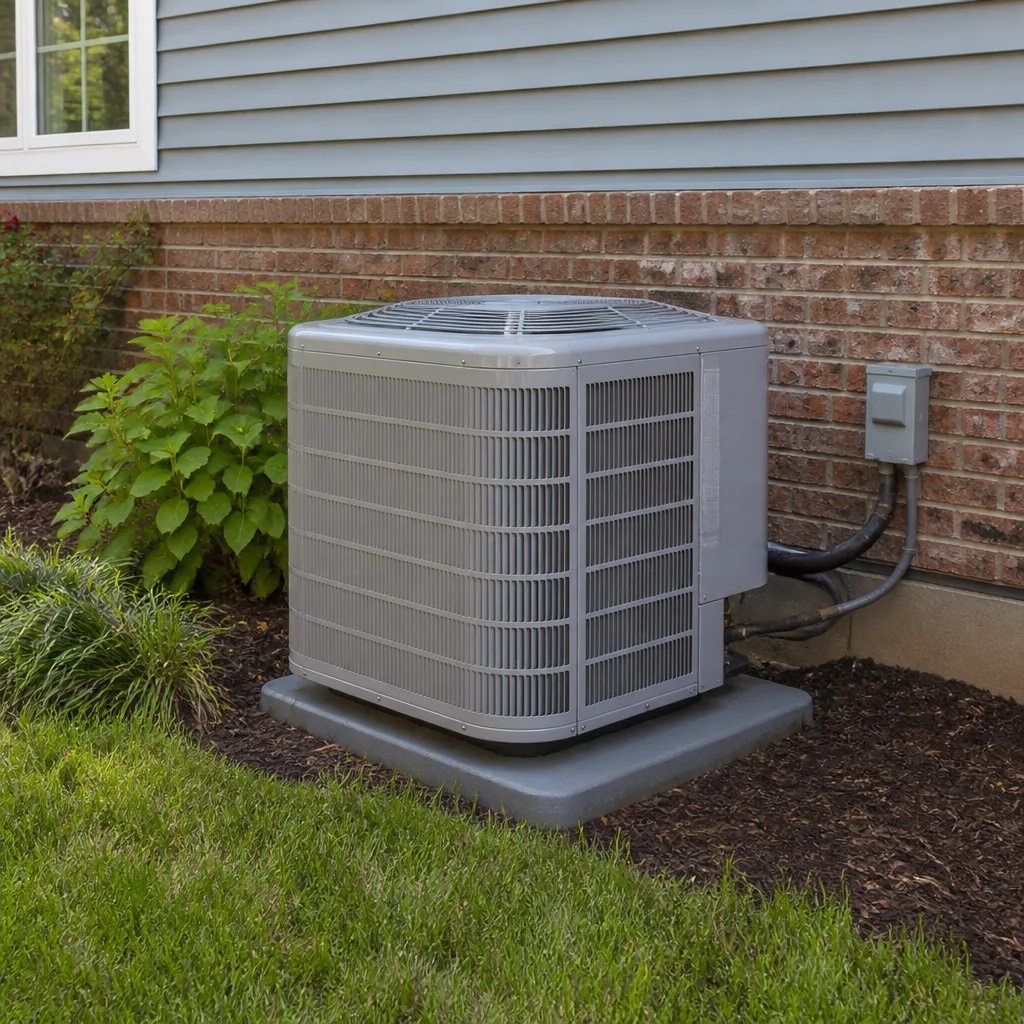 Carrier
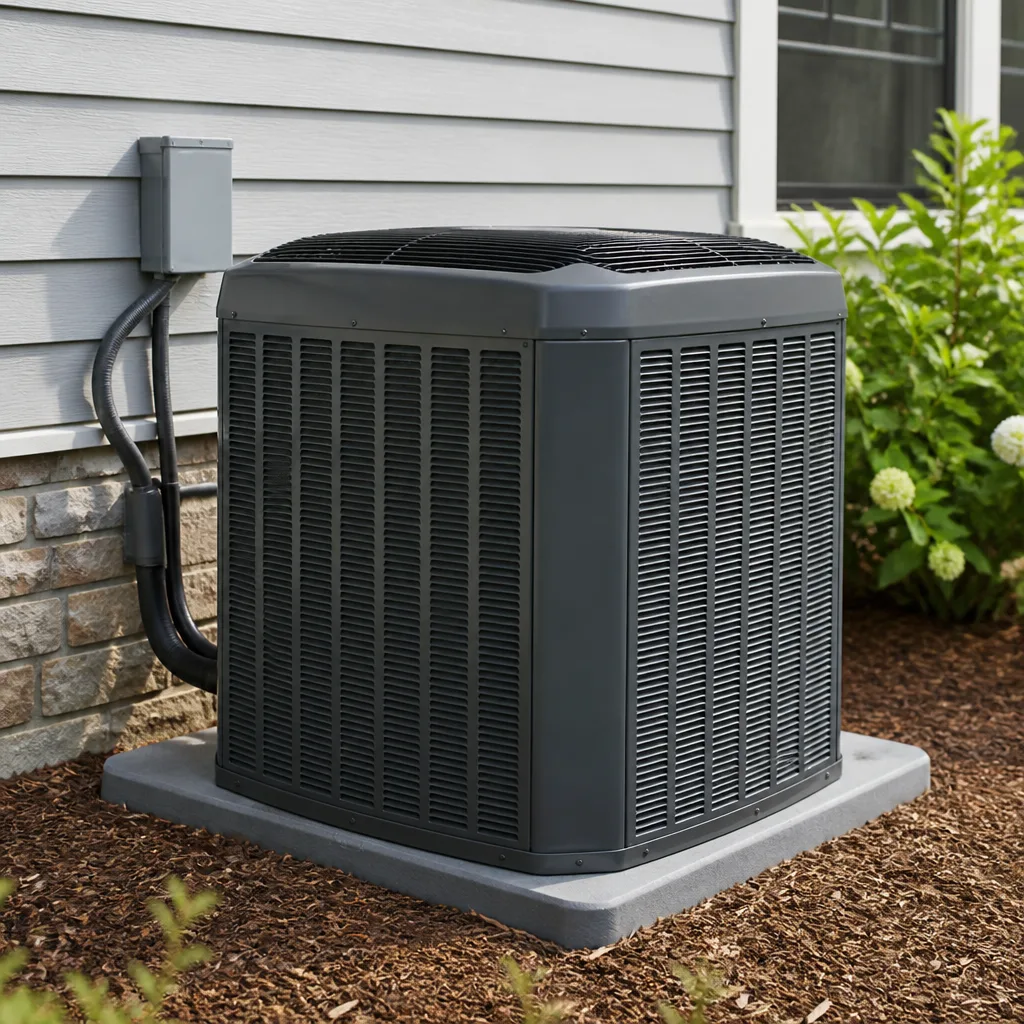 Trane
Trane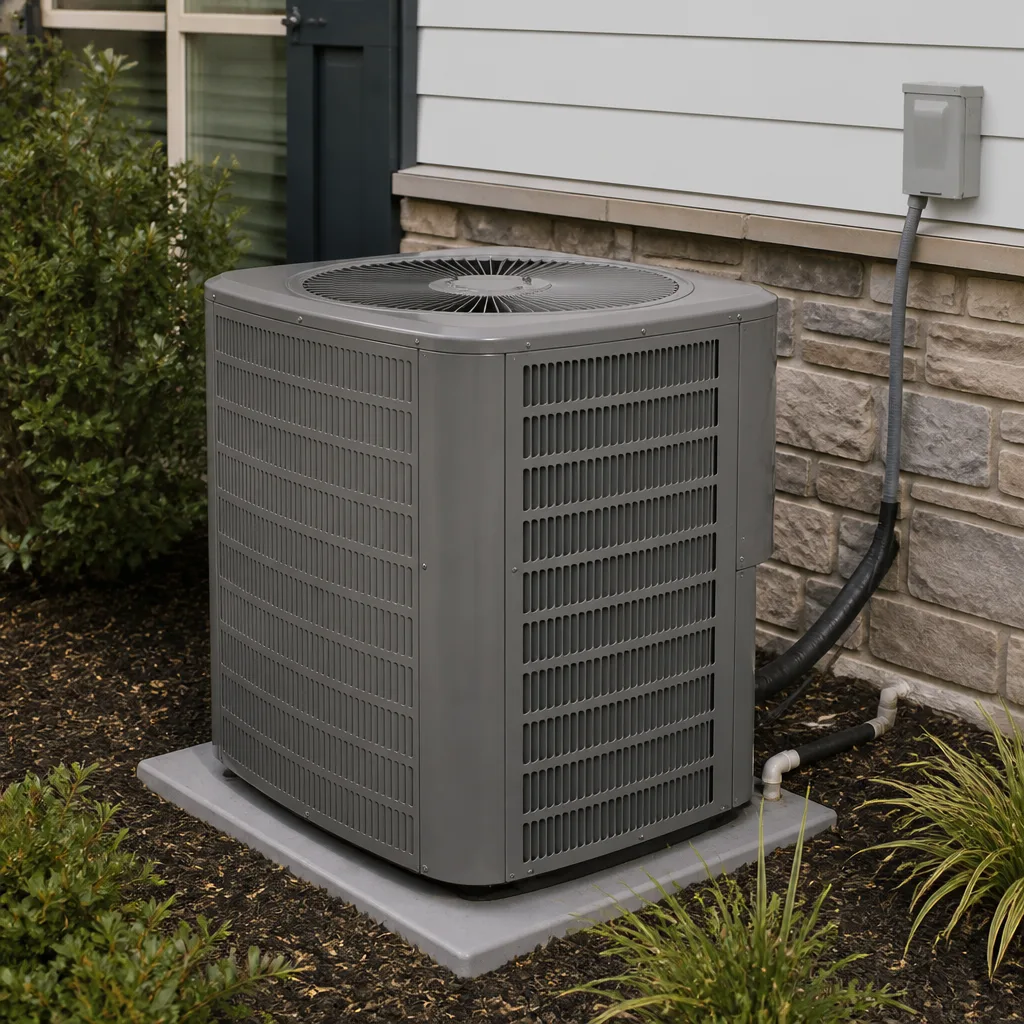 Goodman
Seasonal tune-up and full diagnostic on your Carrier, Trane, or Goodman system - readings shown to you before any repair is proposed
Diagnosis first, numbers second - you approve the repair price before a single part goes in.
Get your free estimateAC Repair Maintenance Checklist for Austin Homeowners
The single most common Austin AC service call in June is for a frozen evaporator coil, a problem that looks like a broken system but is usually caused by a $4 air filter that hasn’t been changed since February. A checklist that buries filter inspection at the bottom, behind a dozen less critical tasks, is costing Austin homeowners real money every summer. This guide is built backwards from the AC failures we actually see in Austin, so you’re checking the things that fail here first, not last. For a deeper dive into local system demands, see The Complete Guide to HVAC in Austin. You’ll also learn which checks can save you a $150 dispatch fee by ruling out simple fixes before you pick up the phone.
Quick Answer
The most effective AC maintenance checklist for Austin homeowners prioritizes air filter inspection, outdoor condenser coil cleaning, condensate drain line flushing, thermostat battery and setting checks, and refrigerant line inspection, in that order. These five items address roughly 80% of the AC breakdowns we see across Austin between May and September. Most of them take under 15 minutes and cost less than $20 in materials.
Styles & brands we work with
Table of Contents
- The Priority-Ranked Checklist: Why Failure Order Matters
- 1. Air Filter: The $4 Part That Causes $400 Headaches
- 2. Outdoor Condenser Clearance: Austin’s Live Oak Problem
- 3. Condensate Drain Flush: The Humidity-Month Protocol
- 4. Thermostat Error Codes: What to Check Before You Call
- 5. Refrigerant Lines and Coil Inspection
- 6. Before-and-After Photos: Your Maintenance Proof
- What a Professional Maintenance Visit Should Include
The Priority-Ranked Checklist: Why Failure Order Matters
Most AC maintenance checklists are recycled manufacturer PDFs organized by component location: indoor unit first, outdoor unit second, electrical connections third. That’s fine for a technician working through a system. It’s useless for an Austin homeowner trying to prevent a breakdown during the third week of a 100-degree stretch. The order below is based on what actually fails in Central Texas, which means it’s the order you should follow if you only have 30 minutes on a Saturday morning.
In Austin, our failures follow a pattern driven by humidity, live oak debris, and hard use. Systems here run 2,000 to 2,400 hours a year, roughly double what an AC in Cleveland or Minneapolis runs. That means parts wear faster, filters clog faster, and condensate algae grows faster. A checklist written for a mild climate misses the point entirely. Here’s the priority order for Austin:
- Air filter – Accountable for more service calls than any other single item.
- Outdoor condenser clearance – Live oak leaves and pollen choke coils faster here than anywhere else in Texas outside of Katy and The Woodlands.
- Condensate drain line – Algae blockages spike during our high-humidity months, April through October.
- Thermostat batteries and settings – A dead AA battery causes more “my AC is broken” calls than blown capacitors.
- Refrigerant lines and visible coil condition – Ice on the lines is a warning sign, not an emergency.
- Electrical connections and capacitor – Visual checks only; leave live testing to a pro.
This order also doubles as a before-you-call diagnostic. Run through the first four items, and you’ll either fix the problem yourself or know exactly what to tell a technician when you call. That specificity saves time and, in some cases, a second trip.
1. Air Filter: The $4 Part That Causes $400 Headaches
If you only do one thing on this entire list, change your air filter. It’s not the most glamorous maintenance task, but it’s the one that prevents the most failures. A clogged filter restricts airflow across the evaporator coil, which causes the coil to drop below freezing temperature in humid air. The coil ices over. The system stops blowing cold air. You think the AC is dead, call for AC Repair, and the fix is a filter that costs less than a sandwich.
In Austin, filter replacement frequency matters more than in drier climates. Our air carries high humidity plus pollen from live oaks, elms, and mountain cedars. During March and April, cedar pollen alone can turn a white filter brown in three weeks. We recommend checking your filter monthly during peak season and replacing it when it looks dirty, not when the calendar says so. A 1-inch fiberglass or pleated filter typically lasts 30 to 60 days in Austin conditions. If you’re using a 4-inch or 5-inch media filter, check every 60 to 90 days.
- Check frequency: Monthly from April through October.
- Replacement trigger: Visible discoloration, not a set date.
- MERV rating: 8 to 11 is the sweet spot for most Austin homes. Higher MERV filters restrict airflow and can cause the same problems they’re meant to prevent.
- Cost: $4 to $20 for standard sizes. Custom sizes run $30 to $60.
If you can’t remember the last time you changed your filter, do it now. It’s the single highest-return maintenance action on this page. And if your AC does ice over because of a dirty filter, turn the system to “fan only” and let it thaw for 2 to 3 hours before calling a technician. You’ll often save yourself the dispatch fee.
2. Outdoor Condenser Clearance: Austin’s Live Oak Problem
Most maintenance guides from up north mention clearing leaves from around your outdoor unit as a minor task. In Austin, it’s the second most important thing you can do, because live oak leaves don’t just fall in autumn. They drop in March and April, and they’re small, leathery, and prone to wedging themselves between the condenser fins where they block airflow and trap moisture against the coil.
Your outdoor condenser needs at least 18 to 24 inches of clear space on every side to breathe. It needs that space year-round, but especially from March through July, when live oak leaf drop and pollen season combine with the first real heat of the year. When the coil gets choked with leaves and pollen, the system can’t reject heat properly. Head pressure rises. The compressor runs hotter than designed, which shortens its life and can trip thermal overloads on the hottest afternoons.
Here’s what to do:
- Clear a 24-inch perimeter around the condenser. Cut back any grass, weeds, shrubs, or vines touching the unit.
- Remove leaves from the coil surface by hand or with a soft brush. Never use a pressure washer; it bends the aluminum fins and reduces airflow permanently.
- Check for leaf buildup underneath the unit, especially if your condenser sits on a pad at ground level. Leaves accumulate beneath and block airflow from below.
- Trim overhanging branches that drop leaves directly onto the unit. Live oaks are the main culprit, but pecans and elms contribute too.
- Rinse the coil with a garden hose at low pressure, spraying from the inside outward to push debris out rather than deeper in. Do this with the power to the unit off.
If your condenser is surrounded by live oaks and you’re not comfortable clearing the coil yourself, a professional maintenance visit includes coil cleaning. For Austin homeowners with heavy tree cover, we recommend a pro coil cleaning twice a year, once in late April after leaf drop and once in September before the last heat waves.
3. Condensate Drain Flush: The Humidity-Month Protocol
Your AC produces gallons of condensation every day it runs. In Austin, where humidity sits above 70% for most of the summer, that condensation volume is higher than in almost any other Texas metro. The water drains through a white PVC pipe, usually located near your indoor air handler or furnace. The problem: warm, wet, dark pipe interiors are the perfect environment for algae growth.
Algae blockages in condensate drains spike between April and October in Austin. When the drain clogs, water backs up into the drain pan, which overflows into your attic, ceiling, or floor, depending on where your air handler lives. That’s a property damage problem, not just an AC problem. Ceiling repairs from a clogged condensate drain routinely run $500 to $1,500, and most homeowner’s insurance policies won’t cover it if the drain was never maintained.
The flush protocol is simple and takes 10 minutes:
- Locate the drain line near your indoor unit. It’s typically a 3/4-inch white PVC pipe with an open T-shaped access point or a cap.
- Pour 1 cup of white vinegar or hydrogen peroxide into the drain line access point. Do this monthly during high-humidity months.
- Wait 5 to 10 minutes, then flush with 2 cups of warm water.
- Check the outdoor drain exit, usually near your condenser, to confirm water is flowing freely.
- If water doesn’t flow, the line may already be clogged. Don’t pour drain cleaner into the line. Call a professional or use a wet/dry shop vacuum on the outdoor exit to try clearing it yourself.
Some Austin homes have a condensate drain safety switch wired into the system. When the drain clogs, the switch trips and shuts the AC off entirely. If your system runs for a while and then shuts down while the thermostat still says it’s cooling, check whether the drain pan is full. The switch may have saved you from a ceiling leak.
4. Thermostat Error Codes: What to Check Before You Call
Your thermostat talks to you. Most homeowners just don’t know how to listen. If your AC stops working and the thermostat display is blank, dim, or showing a code you don’t recognize, those signals tell you more than half of what a technician will diagnose. In our experience in Austin, a meaningful share of “AC not working” calls are thermostat problems, not mechanical failures.
Here are the three most common Austin thermostat issues and what they mean:
- Blank or dim display: Usually dead batteries. Replace the AA or AAA batteries in the thermostat, wait 60 seconds, and check whether the system restarts. Cost to fix: $3.
- “Cool On” flashing but no cold air: The thermostat is calling for cooling, but the system hasn’t responded. Wait 5 minutes. If the system starts, you may have a delay timer doing its job. If it never starts, the problem is downstream: capacitor, contactor, or compressor.
- Error code E1, E2, or similar: Most digital thermostats flash error codes for sensor failures or communication problems. Check your thermostat’s manual for the specific code meaning, but E1 often means a failed indoor temperature sensor. Some codes clear with a reset; others require a new thermostat.
When a code means “turn it off now” versus “wait and try again”: a thermostat showing a temperature 10 degrees higher than the room actually feels is a sensor issue that may reset on its own. A thermostat that is hot to the touch, smells burnt, or shows an electrical error code is a reason to turn the system off at the breaker and call a professional. Never try to open a thermostat and test live wiring yourself.
If you’re in the middle of a no-cooling situation, check the thermostat batteries before you call a technician. It’s the $3 fix that saves a $150 dispatch fee more often than homeowners expect. If the batteries are fine and you’re still down, our AC Repair in Austin team answers live 24/7.
5. Refrigerant Lines and Coil Inspection
Refrigerant is the coolant your system uses to move heat from inside to outside. It runs through copper lines connecting your indoor evaporator coil to your outdoor condenser. When refrigerant levels are correct, the large insulated line (the suction line) runs cold and may sweat with condensation while the system is cooling. When levels are low, that line may freeze, or you may see ice forming on the copper where it enters the indoor unit.
Refrigerant recharge (topping off the coolant your system needs to produce cold air) is not a normal maintenance item. If your system needs refrigerant, it has a leak. Adding refrigerant without finding and fixing the leak is a temporary solution that costs you money every summer. A proper repair finds the leak, fixes it, and then recharges the system to the manufacturer’s specified charge.
Here’s what to check visually:
- Look at the large insulated copper line running into the indoor unit. It should be cool and may be sweating. If it’s frozen, ice-covered, or frosty, you have an airflow problem or a refrigerant problem.
- Check for oil stains on the copper lines, especially at braze joints and fittings. Refrigerant leaks carry compressor oil with them, so oily spots are leak markers.
- Look at the outdoor condenser coil. If you see ice on the coil while the system runs, turn the system off and let it thaw. Ice means restricted airflow, low refrigerant, or a failing blower motor.
- Listen for hissing or bubbling sounds near the indoor coil while the system runs. Hissing can indicate a refrigerant leak in the evaporator coil.
If you see ice anywhere on the refrigerant lines or coils, turn the AC to “fan only” and let it thaw for 2 to 4 hours before calling. A frozen system can’t be properly diagnosed until it’s thawed, and running it in cooling mode while frozen can damage the compressor. Once thawed, call a professional to check refrigerant levels and airflow. Brands we service regularly in Austin include Carrier, Daikin, American Standard, and Bryant systems, and the diagnostic process is the same across all of them.
6. Before-and-After Photos: Your Maintenance Proof
Here’s something most checklists skip: documentation. If you’re doing your own maintenance, take before-and-after photos of your filter, your condenser coil, your drain line, and anything else you touch. If you’re hiring a professional, ask whether they photograph their work. At Halden Heating and Air Austin, every maintenance visit includes before-and-after photos of the key components, because that’s part of The Relay Standard we operate under.
Why photos matter:
- Dispute resolution: If a component fails shortly after a maintenance visit and the question arises about whether it was actually cleaned or replaced, photos answer that question.
- Pattern tracking: A filter that’s caked after 30 days tells you something about your home’s air quality or airflow that a 90-day filter doesn’t. Photos from each maintenance visit help you spot changes over time.
- Insurance documentation: If a condensate drain overflows and damages your ceiling, photos of your drain line maintenance from previous months show you weren’t negligent.
- Warranty protection: Some manufacturer warranties require documented maintenance. Photos are the simplest form of proof.
What a technician should photograph before maintenance:
- The air filter as removed, showing date and condition.
- The condenser coil from all four sides before cleaning.
- The evaporator coil, if accessible.
- The condensate drain line and drain pan.
- The electrical disconnect and capacitor, if the panel is opened.
What a technician should photograph after maintenance:
- The same components after cleaning, replacement, or repair.
- The new filter in place, with the install date written on the frame in marker.
- Any measurements taken, such as temperature drop across the coil or refrigerant pressures.
If a company won’t show you photos of the work, ask why. Transparency about what was actually done is the single biggest differentiator between a maintenance service you can trust and one you can’t. The Relay Visibility Guarantee, which Halden Heating and Air Austin operates under, exists precisely because this level of transparency is rare in the HVAC trade.
What a Professional Maintenance Visit Should Include
A complete professional AC maintenance visit in Austin runs between $80 and $200 for a single system, depending on the level of detail and whether coil cleaning is included. That price should buy you more than a filter swap and a glance at the outdoor unit. Here’s what a thorough maintenance visit looks like, in order:
- Filter inspection or replacement – If the filter is washable, it should be cleaned or replaced according to type.
- Thermostat function test – Cooling cycle activated, temperature differential verified, batteries checked.
- Indoor coil inspection – Visual check for ice, dirt, or leaks; coil cleaning if accessible.
- Condensate drain flush – Vinegar or peroxide flush plus water flush, with flow confirmation at the outdoor exit.
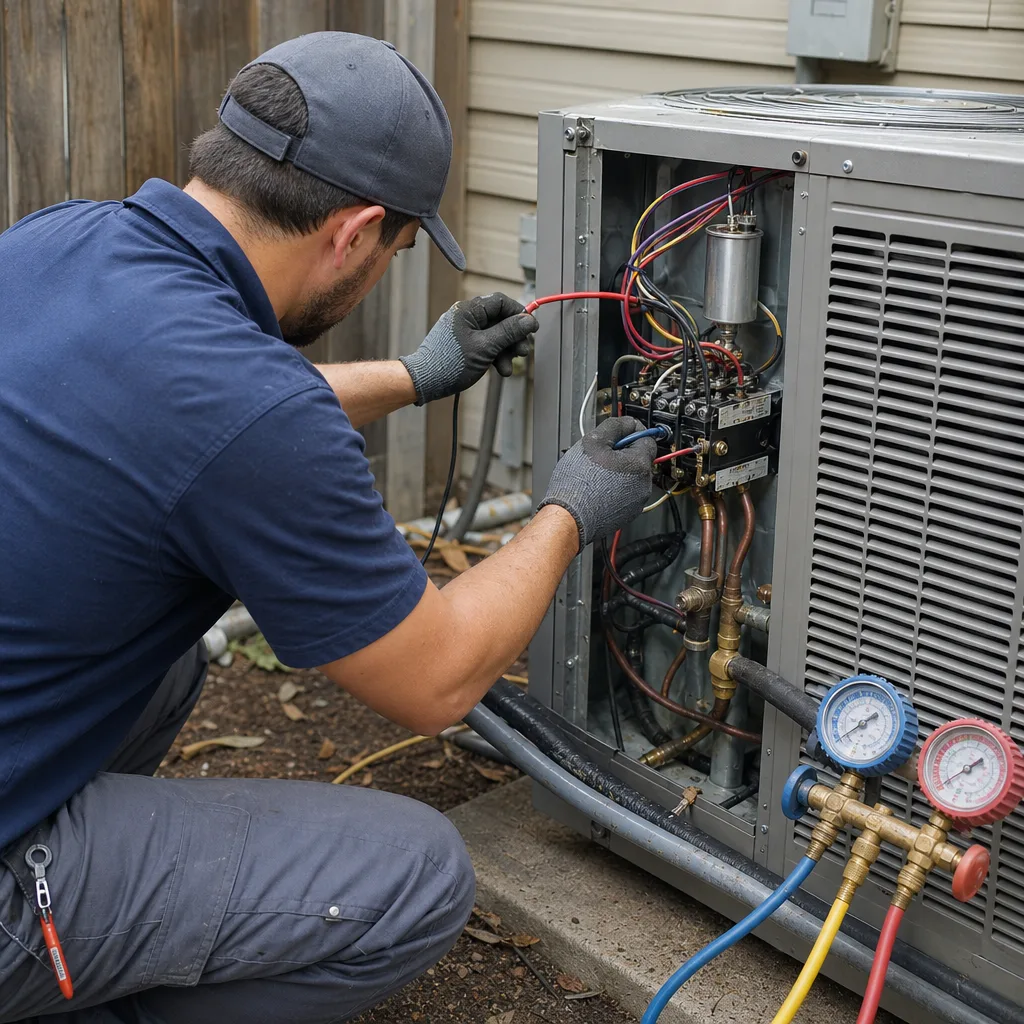
- Electrical component check – Capacitor testing, contactor inspection, wire connections tightened.
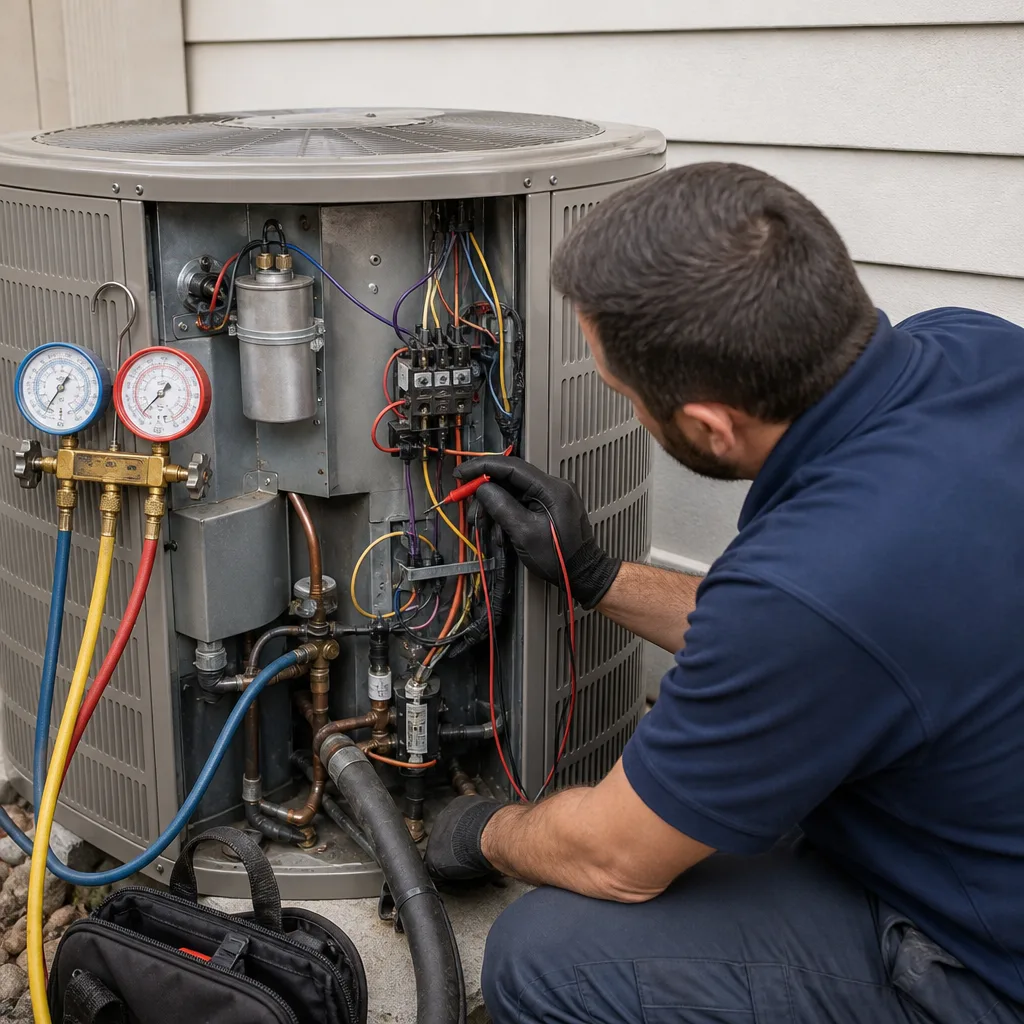
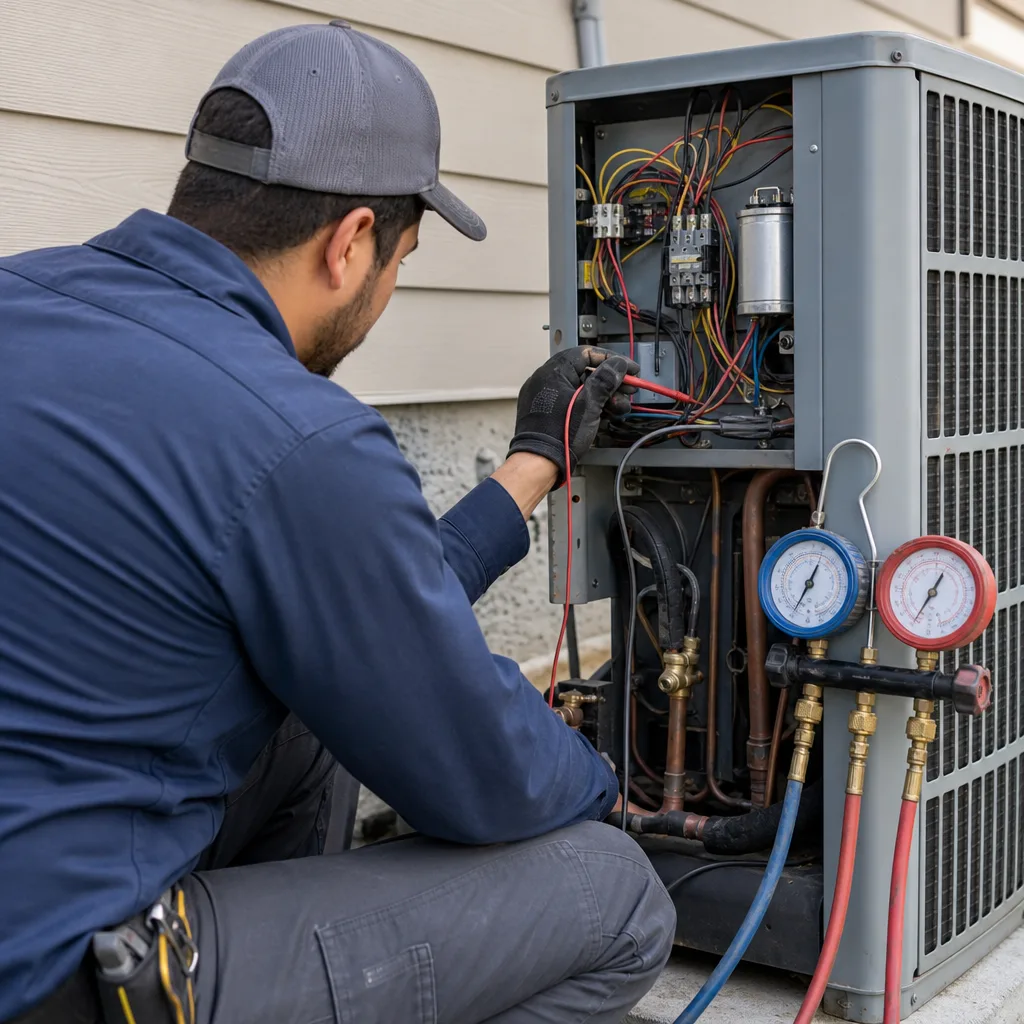
- Refrigerant pressure check – Gauges connected, pressures compared to manufacturer specs, superheat or subcooling checked.
- Outdoor coil cleaning – Debris removal plus chemical or water rinse of the coil.
- Temperature drop measurement – Air temperature before and after the indoor coil; the difference should typically be 15 to 20 degrees.
- Written report – A document showing what was checked, what was done, and any recommended repairs with pricing.
Every Halden Heating and Air Austin maintenance visit ends with a written report and before-and-after photos, which are included in the price, not offered as an upgrade. The 365-Day Done Right Promise covers maintenance work for a full year, meaning if something goes wrong that we should have caught, we come back and make it right at no charge. That’s not a marketing line; it’s written into the service agreement.
For most Austin homes, two professional maintenance visits per year are the right cadence: one in late March or early April before the first real heat, and one in September or October as systems transition from cooling to the occasional heating cycle. If you have a newer system under manufacturer warranty, semi-annual maintenance may be a warranty requirement. Read your warranty document; some manufacturers specifically require “annual maintenance by a licensed HVAC professional” and will deny compressor claims without proof.
Common Mistakes to Avoid
- Checking the filter last because the manufacturer’s list puts it first in reverse order. In Austin, the filter is the first thing to check, not the fifth. A clogged filter causes more service calls than any other single component we replace.
- Using a pressure washer on the condenser coil. The aluminum fins bend with even moderate pressure, and once bent, they permanently restrict airflow. Use a garden hose at low pressure or a soft brush.
- Ignoring the condensate drain during dry months. The algae that clogs your drain in July started growing in April. Flush monthly during humidity season, not just when you see water.
- Setting the thermostat to 68 degrees to “cool faster.” Lowering the temperature setting doesn’t speed up cooling; it just makes the system run longer. Austin systems are sized for a 20- to 25-degree temperature difference from outdoor conditions, and setting the thermostat below 72 during a 105-degree heat wave can cause the system to run nonstop while never satisfying.
- Closing vents in unused rooms to save energy. This increases static pressure and restricts airflow, which can freeze the coil. Austin homes with single-speed blowers are especially prone to this.
- Assuming a maintenance plan is a scam. A good maintenance plan with a reputable company pays for itself in fewer breakdowns and longer equipment life. A bad plan with a company that uses maintenance visits as a sales opportunity is worse than no plan at all. Ask whether technicians are paid on what they sell before you sign.
- Waiting until the first heat wave to schedule maintenance. By the time the first 100-degree week hits Austin, every reputable HVAC company is booked out for days. Schedule your spring maintenance in February or March.
See the difference
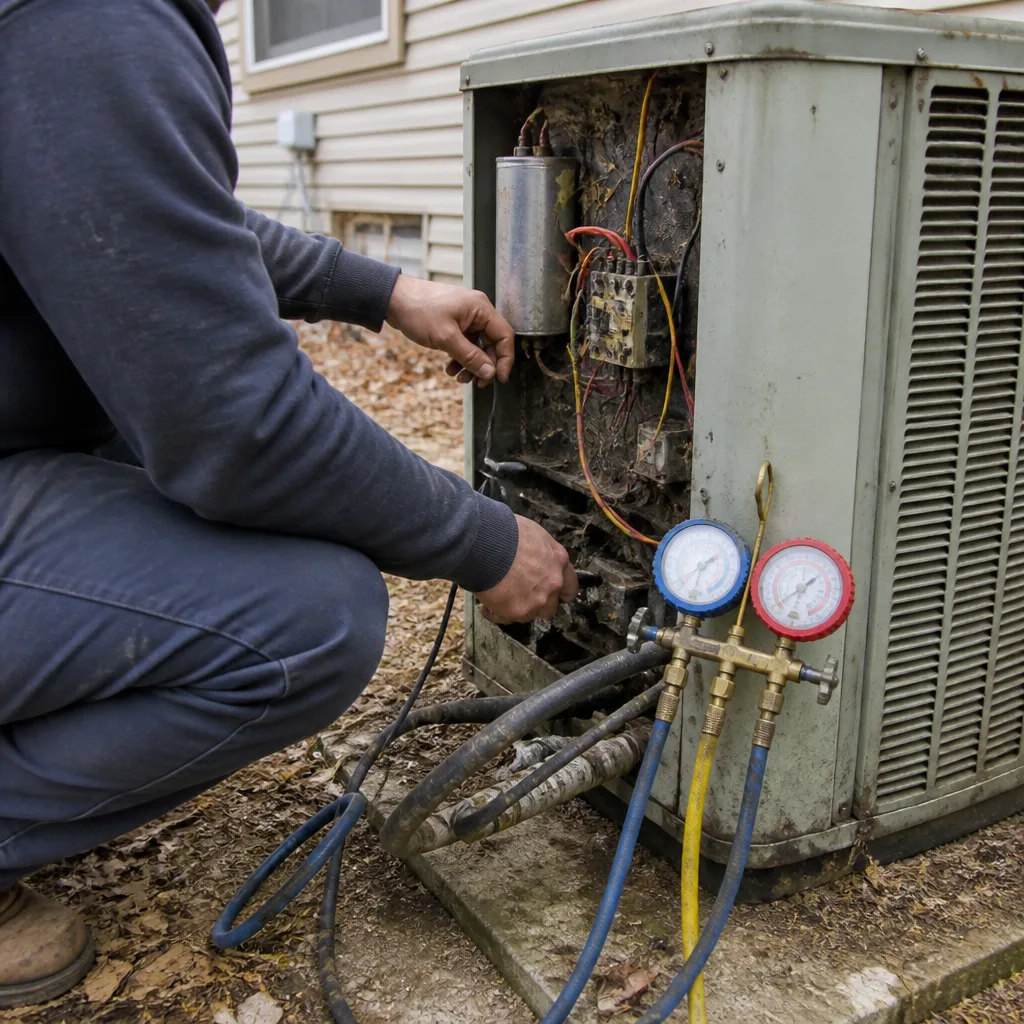 Before
 After
After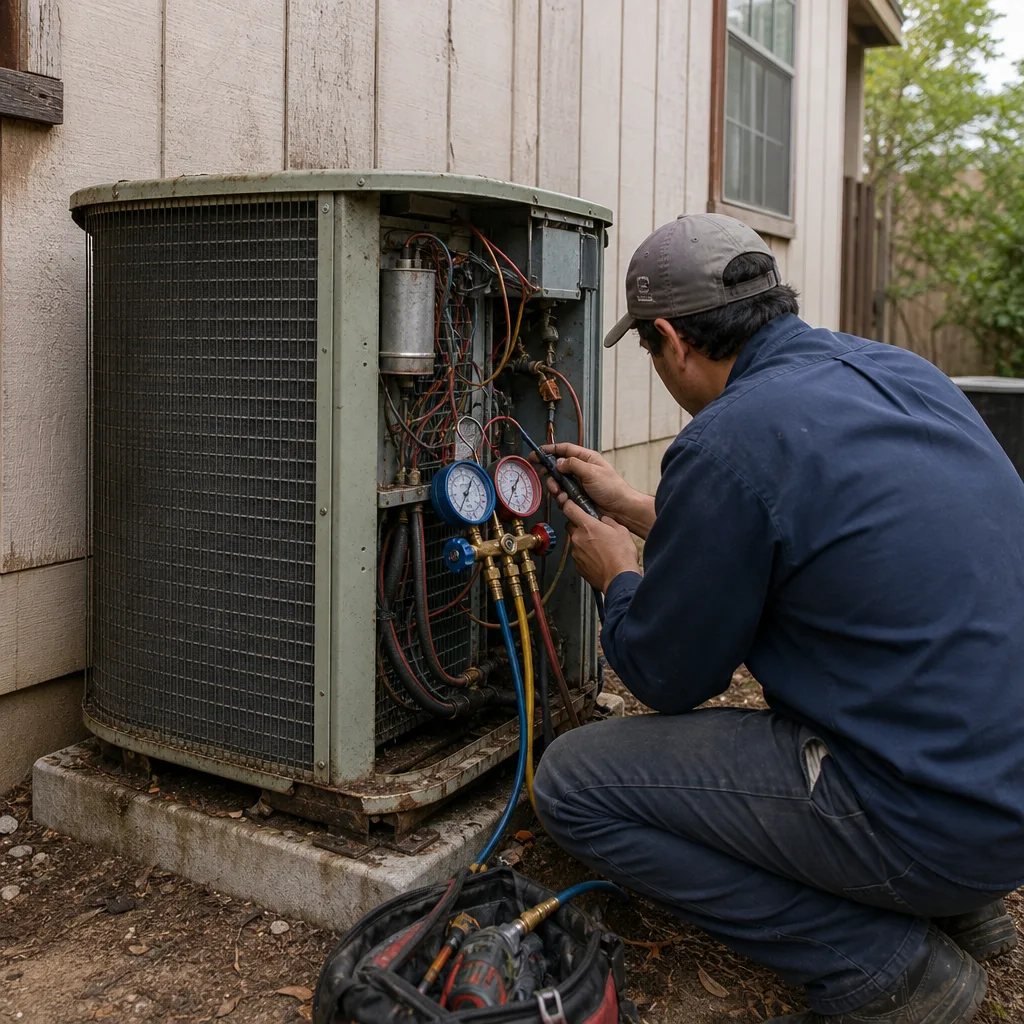 Before
 After
After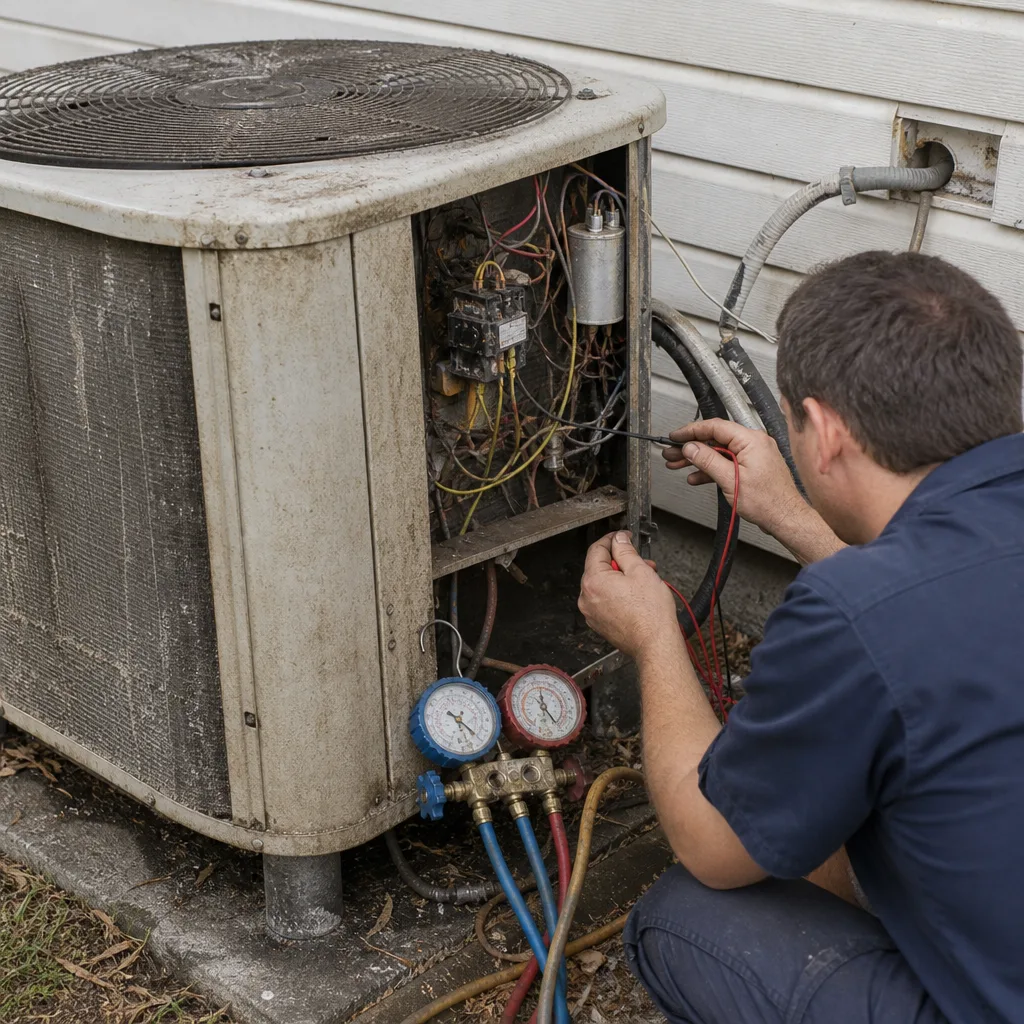 Before
 After
AfterWhen to Call a Professional
Some maintenance tasks are safe and simple for a homeowner. Others are not. You should call a professional if you see ice on the refrigerant lines or coils and the problem doesn’t resolve after the system thaws and the filter is changed. You should call if the outdoor unit is running but the indoor fan isn’t, which points to a blower motor or control board problem. You should call if any electrical component looks burnt, smells acrid, or sparks when the system cycles. And you should call if you’re not comfortable doing any of the checks above.
Replacing a capacitor involves stored electrical energy that can shock even after power is disconnected. Refrigerant handling requires an EPA Section 608 certification. Condenser coil cleaning on a unit in a tight Austin backyard enclosure may require moving the unit or working around live oak roots and uneven ground. For these situations, Halden Heating and Air Austin offers free estimates in Austin, call (361) 202-9170. Our team of AC installation and repair professionals serves the entire metro area with live tracking and written pricing before any work starts.
Frequently Asked Questions
In Austin, a 1-inch filter typically needs replacement every 30 to 60 days during cooling season, and more frequently if you have pets, live near construction, or have live oaks dropping pollen and leaves near your home. Check monthly and replace when you see visible discoloration, not on a fixed calendar. A 4-inch or 5-inch media filter can last 60 to 90 days but should still be checked monthly during peak season.
Professional AC maintenance in Austin runs between $80 and $200 for a standard single-system visit, with the higher end reflecting coil cleaning and more thorough system checks. Halden Heating and Air Austin includes before-and-after photos, a written report, and a written guarantee on every maintenance visit, which is part of the standard price, not an add-on. Explore our more guides & resources for additional homeowner tips. Call (361) 202-9170 for exact pricing on your system.
Turn the thermostat to “fan only” and let the system thaw for 2 to 4 hours. Replace the air filter while you wait. Once thawed, turn the cooling back on and see if the problem returns. If it freezes again within a day or two, you have an airflow or refrigerant problem that requires professional attention. The fix could be as simple as a dirty coil or as serious as a refrigerant leak.
Yes. A clogged condensate drain can overflow and cause water damage to ceilings, walls, and floors, especially if your air handler is in an attic, which is common in Austin homes. The repair often costs $500 to $1,500 and may not be covered by insurance if the drain wasn’t maintained. Flush the drain with vinegar monthly during high-humidity months to prevent algae buildup.
For most Austin homes, yes. Our systems run 2,000 or more hours per year, roughly double the national average, and our humidity accelerates algae growth and component wear. A spring visit before the first heat wave and a fall visit as cooling season ends are the right cadence. If you have a newer system under warranty, semi-annual maintenance may be a warranty requirement.
A maintenance check is a scheduled inspection and tune-up designed to keep your system running properly and catch small problems before they fail. A repair call is a response to a specific failure. Maintenance visits in Austin typically include filter replacement, drain flushing, coil cleaning, electrical checks, and refrigerant pressure verification. Repairs address specific broken components and are priced after diagnosis. Both include a written price before work begins if you use the right company. For more on what separates our process from standard HVAC calls, start at the Halden Heating and Air Austin home page.
The Bottom Line
Your AC maintenance in Austin should be built around the failures that actually happen here: dirty filters freezing coils, live oak leaves choking condensers, algae clogging drains in humidity season, and dead thermostat batteries masquerading as system failures. If you do nothing else, change your filter monthly and flush your drain line with vinegar during the warm months. That alone prevents a meaningful slice of the breakdowns we see every summer. For everything else, a professional maintenance visit twice a year, with before-and-after photos and a written guarantee, is the difference between a system that fails during a heat wave and one that runs clean through the worst of August. When you’re ready for a maintenance visit or a furnace repair tune-up this fall, call Halden Heating and Air Austin at (361) 202-9170.
Written by Andre Fuller, Owner at Halden Heating and Air Austin, serving Austin since 2004.